I have been making some cards recently for birthdays, Anniversary's, Fall and halloween and will post those in a bit. For now, I have a Fall card that I made for the Cardz TV Go-To Galz Challenge #36...."colors of Fall". I had a great time creating the card using my hardly used "Mini Monsters" cartridge...lol.
I think the card feature on this cartridge is great, but I just never seem to use it until now. I love this cute pumpkin card and thought it fit perfectly for the challenge!
Details:
Mini monsters cricut cartridge: page 60 cut at 5 inches
leaves: honestly I don't know what cartridge these came from sorry, they were in my stash
swiss dots cuttlebug embossing folder
Recollections Autumn 8x8 paper pack
kraft cardstock
Recollections gems
Inky Antics: squirrel stamp set
bakers twine, adhesive, brown ink
Wednesday, September 25, 2013
Hello again!
Last Sunday my not so little "little boy" turned 12...I can't believe it! It was the fastest 12 years of my life. We had a little family party for him with lunch and cake. We all had a great time! I say it every year, but I wish I had more time to craft different things for his party...like I wish I had made a banner or napkin wraps or even invitations for that matter, but with school starting and homework being done, time just escapes me. Plus my son didn't have a particular theme for his party, so we just kept it to his favorite patriotic colors of red, white and blue. I had a great time making his cake...it has been quite a while since I made one, but I think it turned out great! It was yellow cake with 1/2 strawberry and 1/2 chocolate pudding with buttercream frosting....yummy!!
I also made some straws with mustaches and the goody bags had a mustach as well. For the straws, I used red and white striped paper straws and a mustache punch and just adhered them with a glue dot. I decorated a mason jar with some patterened paper and tied some bakers twin on the rim with a tag that I printed and cut using the silhouette cameo. The mustache was the same punch and the sentiment was stamped and cut into a banner shape and adhered with pop dots. I think it was such a fun touch to add to the table and the kids all loved them.
The goody bags were just paper ones and I cut different coordinating pattern paper and used the silhouette cameo to cut the mustaches....I used 2 different ones from the file. The file # for the mustaches is item # 42306 mustache mania. I sized them to fit the front of the bag. Like I said, I wish I had more time to carry out the mustache theme, but I was lucky I got that done with making all the food and desserts! But I'm glad I did what I did because it turned out so cute!
I am entering the mason jar project in a challenge at CARDZTV.blogspot.com. The challenge is cardztv go-to galz linky party challenge #4, "Jars, Jams & Jellies". We had to use a mason jar...it could be a die cut, stamped image or an acutal jar...I chose to decorate a jar! I had so much fun with this challenge and I just love Mary's stamp sets...I recently ordered a cute halloween set that I can't wait to play with! Thanks for stopping by!
Hello again! I have been MIA for a bit because my family took a small vacation and then the kids started school and have been upset as they are trying to adjust.
So this past weekend my husband had a fire department muster and every year we make s'mores pops....well this year my 9 year old daughter made over 40 of them all by herself!!
Here is how she makes them: put a lollipop stick in each marshmallow and dip about half way into melted chocolate (my daughter melted a piece of her 5lb Hershey bar that her grampy bought her) and then roll it in crumbled grahm crackers. Place in refridgerator for 10 minutes and then they will be ready to go!
When my daughter was making them, I remembered that Cardztv had a "toasted marshmallow" challenge, so I placed 3 in a bag and made a bag topper using the silhouette cameo software and used the cutest marshmallow cut from the store (design # 42905). i used a fiskars border punch to hide the staples and the stamp is from ScrappyMoms Stamps.
I am entering this in the CARDZTV go to galz linky party challenge #3 "toasty marshmallow" challenge. I think this fun little treat fit the challenge perfectly!
Hi there! Here is a super quick card that I whipped up for a challenge on Cardztv.blogspot! It is the CARDZ TV GO-TO GALZ CHALLENGE #34 "COLOR POP"....have to use black and white with a pop of yellow! I immediately thought of a bumble bee and knew that I wanted to incorporate hexagons for a honey comb look!
The hexagons were cut from a hexagon card base that I bought from the silhouette ...but just used the hexagons. The bee is from a digital elements picnic pack from echo park and I used the trace and cut feature to cut it out on the silhouette cameo. I am not sure where the Pattern paper is from as it was in my stash but I loved the mixture of the black embossed paper and the black and white pattern paper. After I popped up the bee and stamped the sentiment I just doodled the bee trail with a thin zig marker.
Yellow card base: 4 1/4 x 5 1/2
Black mat: 4 1/8 x 5 3/8
White mat: 4 x 5 1/4
Hexagons: silhouette store
Bee: echo park digital picnic elements
Sentiment: ScrappyMommy "little critter" stamp set
Thanks for stopping by and go check out the challenge at Cardztv!
Here us a quick card that I made. Well it was quick after it gave me nothing but problems for a day! LOL! I couldn't decide what papers to use for the card layers and had to rummage until I came across this orange pattern that reminded me of a giraffe!
The card base is 4 1/2 x 7 inches, which was a fun size to work with. I used the Birthday Bash cricut cartridge and cut the giraffe on skates (pg. 63) at 5.5 inches. This silly giraffe is in an action wobble and just makes me laugh seeing it wobble on skates. The sentiment is from the "It's All About You" set from Cardztv stamps and I am entering it in the Cardztv "stitch" challenge. I used my paper piercer to make holes and used a blue DMC floss to make x stitches.
Card base: 4 1/2 x 7"
Yellow mat: 4 1/2 x 7"
Orange mat: 4 3/8 x 6 7/8"
White mat: 4 1/4 x 6 3/4"
Pattern mat: 4 1/8 x 6 1/2"
White strip: 1 7/16 x 4 1/8"
Hi and good afternoon! I have finally figured out how to update my browser and upload simple videos to you tube...an accomplishment for me! So with an updated browser I actually have all the features of blogger which I didn't have before.
I made my very first video using my flip camera....a cute and simple birthday card. I am so sorry for the dog barking in the background....she was outside playing with the kids and the neighbors kids were crying which upsets my dog....so I am sorry and that will never happen again!
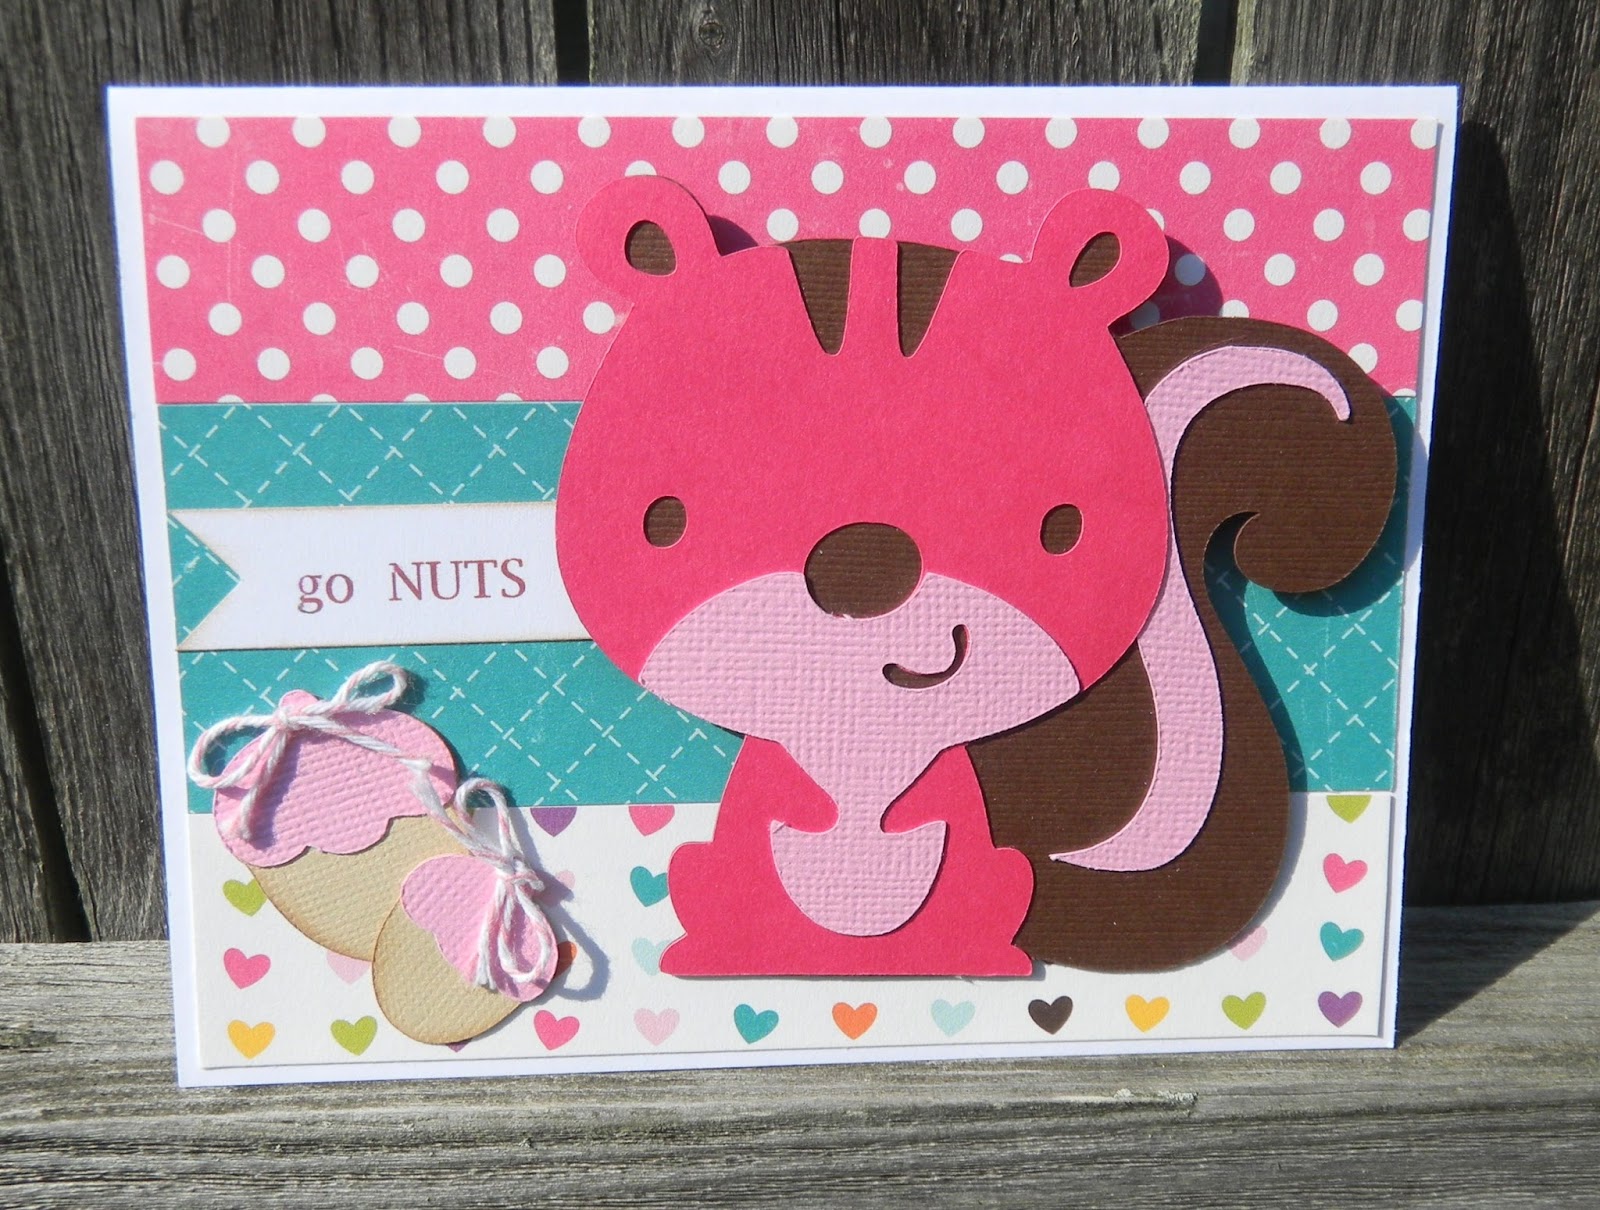
Go Nuts....It's Your Birthday:
Create A Critter Cricut Cartridge: squirrel pg. 32 (3.5 inches), acorns pg. 32 (1.25, 1.5 and 2 inches)
action wobble, brown ink, ATG adhesive, glue dots
Assorted cardstock
All pattern papers: echo park "little girl" collection
computer generated sentiments: Lucinda Bright font
card base: 4 1/4 X 5 1/2 inches
pink strip 5 5/16 x 1 1/8, teal strip 5 5/16 x 1 3/4, heart strip 5 5/16 x 1 1/8 inches
inside teal mat 4 5/8 x 4 7/8 inches
inside white mat 4 3/8 x 3 1/4 inches
Thank you so much for stopping by! I hope to have another video up soon now that I have all of my technical difficulties out of the way! Please leave a comment!
I needed a sympathy card and new I wanted to keep it simple and not too colorful so this is what I came up with! I used my silhouette cameo to make the white frame and the grey layer inside the frame. I used a shape that came with the software and deleted pieces until it was what I wanted. Then just drew rectangles around the frame sized at 4.25 x 5.5 inches and cut it out. I printed the sentiment on patterned paper and cut three butterflies using a Martha Stewart punch. I ran the white frame and the butterflies through the cuttlebug using the Swiss dots folder. I am happy with how this card turned out, it is exactly how I wanted it to look.
Good morning! We don't start school here until after Labor Day, but I saw this adorable 3D pencil in the Silhouette store and thought it would be perfect to put some treats in for the kids when they do start!
The pencil box is # 45533 and comes sized to fit a 12x12 mat. I cut it in white and cut the tip black, then I just cut some strips if yellow to adhere to all of the panels.
I designed the tag using a tag that came with the Silhouette software and used a faux stitch technique and used the "school" with apples (# 20480) and sized it to fit the tag, I used the pattern fill feature for the letters in a black and white polka dot and filled the apples red with green stem. I typed the "back to" using 'blue highway D type' font and filled it with color. I used the print and cut feature! The tag measures 2.75x1.57 inches. I cut a 1 inch circle and stamped the sentiment 'you make me proud' using a Cardztv stamp from the "It's All About You" set! I used a scallop punch in red and mounted the circle and adhered it to the tag!
I tied red ribbon around the box and used a double layer of black and white twine to tie the tag on.
I had so much fun creating this project and I think my kids and nieces will just love it!
I am entering this in the Cardztv "back to school" challenge! Thanks for stopping by and have a great day!
Here is a project that I made for a Christmas in July contest over at exploring cricut.com!
I created this adorable gingerbread house treat box using the cricut sweet tooth boxes and gingerbread cartridges! I honestly can't tell you where the paper is from because it was in my Christmas stash!
The house is cut at 10 inches and when fully assembled measures 6.5 x 3.5x 7 inches, so it is rather large and will hold lots of home baked cookies or other goodies! The gingerbread boy and girl are cut at 3 inches. I also added a little trim on the bottom using a fiskars border punch.
I didn't use all of the layers that would normally cut out with the house. I didn't use the grass, the flower boxes or flowers because I wanted it to be a gingerbread house!
My daughter loves this house so much..she does lots of baking! She has already asked me to make a load of them for her Christmas cookies to give to family, friends and teachers for the holiday! So, I will get a head start on these for her so I'm not rushing at the last minute!
I just love the idea of Christmas in July!!
Thanks for stopping by!
Good morning!
Here is a cute card that I made for my Grandmother's birthday yesterday! She loves Raggedy Ann so when I saw this design in the silhouette store I knew I had to use it on her card! The design number for her is # 48372. I sized her to fit onto the front of an A2 card and big enough so the tiny pieces weren't so tiny. The silhouette cameo did a fabulous job cutting...I mean just look at the mouth on the doll...amazing!
I decided that Raggedy Ann needed a quilted looking background so I cut a base for the card in red at 4 x 5 1/4 and then cut squares that were about 1 1/4 inches and spaced them out to create a quilted look. I added the white strip of paper on the bottom and used a stamp for the sentiment and added some buttons. I used foam dots to adhere her to the card just to stand out!
I think the whole card is just adorable and I had so much piecing Raggedy Ann together!
Thanks for stopping by...I would love it if you could leave me a comment and let me know what you think of my card!
Hi there! Here is a card that I made for a Christmas in July challenge on Mary's blog Cardztv.blogspot.com! I used my silhouette cameo and cut the nativity scene # 23496 at 3.35 x 3.69 inches. I cut some mats and embossed the cream mat using the swirls folder. I stamped the sentiment and added some gold star brads. I used foam dots to raise the sentiment and glue dots to keep the nativity image in place. It's important to use a strong adhesive when working with the embossed paper. I am pleased with the card and it may just be this years Christmas card.
I hope you all have a wonderful weekend! I am planning on spending some time with the kids and using my silhouette a bit!
Good afternoon! We end school a little late here in NY...our last day was Friday the 21st!
I saw this great idea on Pinterest and thought it would be just perfect as a teacher gift! My daughters teacher had made it clear that she didn't want gifts, but I had to do a little something and this was it!!!
I bought 3 packs of colored pencils from the dollar store and used a glass jar (empty cherry jar) and just hot glued them on! Then filled it with some white daisies!
A perfect summer thank you for any teacher!!
The card I made is a center panel card from silhouette and the school bear is from Teddy Bear Parade!
Good morning and Happy Father's Day to all the Dads out there!
We are heading to my parents for breakfast and then spending the day at a Straberry Festival...our favorite tradition!
Here is a super quick card that I made for my husband....the grill master! I used some cardstock and some pattern paper from My Minds Eye Happy Days. The cuts are from 3 Birds on Parade Cricut Cartridge cut at 3.5 inches. I hand cut some grass because I was lazy lol, but I think the card turned out very cute and I know my husband will love it!
I am entering this card in the paperplaytime.blogspot anything goes challenge this month!
Thanks for stopping in and have a great day!
Good morning! My daughter starred as a bumble bee in a play. She was in performance club for months after school to perform in The jungle Book play for third & fourth graders!
Her play was last night and it was just fabulous...our family enjoyed it very much! I have to say that my daughter was the cutest bee ever!!
I made her a card for her performance. The bumble bear is from the Teddy Bear Parade cricut cartridge cut at 3.5 inches! The paper is from my Mind's Eye Happy Days paper pack, but I wanted to mute it a little so I put a piece of vellum over it and used Queen & Co flowers and brads to adhere it. I stamped on the vellum using tuxedo black ink and the "Beary Sweet" stamp set from Cardztv! I also added a hot pink strip and used the threading water edge punch just for fun!
Oh and I almost forgot...the bumble bear is on an action wobble, doesn't get more fun than that!!!!
I had such a fun time making this sweet card! And an even better time watching the play! All the kids did fabulous!
Good afternoon! Here is a quick card that I made for my husbands cousin who is due any day! I am entering it at paperplaytime.com challenge...had to use two ribbons or twine. The bear is 3.5 inches from the Teddy Bear Parade cricut cartridge. The bear is on foam dots and all papers are from my stash!
I can't wait to meet this little baby girl and bring this card with some cute girl summer outfits!!
I just love this card! My daughter told me this joke one day and I was hysterical laughing! I knew right away that I needed to use it for my dads fathers day card! I used Elegant Edges and 3 Birds on Parade cricut cartridges. The mat was cut using Elegant edgesat 5.5 inches with the shadow. The card is a 5x7. The adorable incognito bird with mustache was cut at 4 inches I believe and put on an action wobble. So fun! I printed the sentiments on white cardstock and then cut it using the grids on the mat to help line it up! I added some twine and done...an adorable and fun Father's Day card! I am using this card to enter in the Cardztv challenge!
Thanks for stopping by have a great weekend!!
I am married to Chris, my wonderful, supportive husband and my best friend. We are blessed with 2 beautiful children...Christopher is 11 and Samantha is 9. We love to spend time together and be busy. My family is my #1 passion and scrapbooking is my #2 passion, but I love to bake, cook, read and be crafty!!